
Description

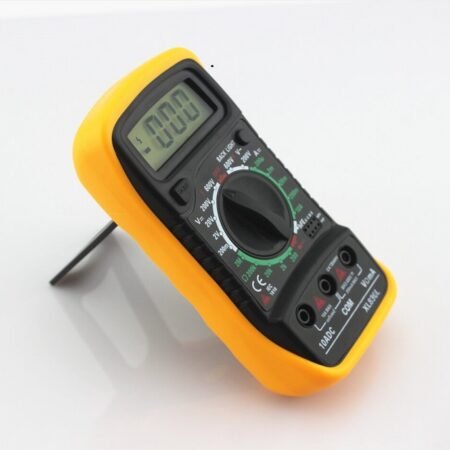
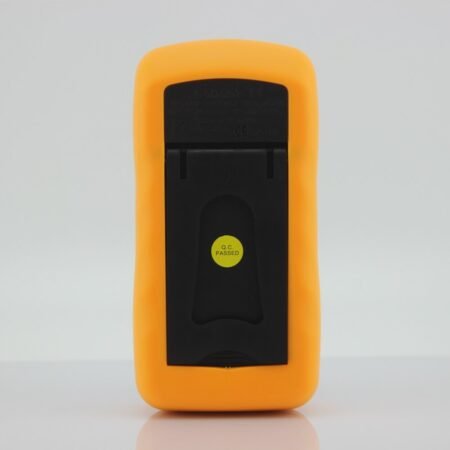
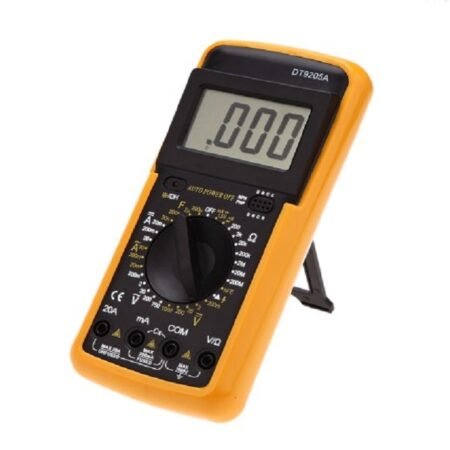
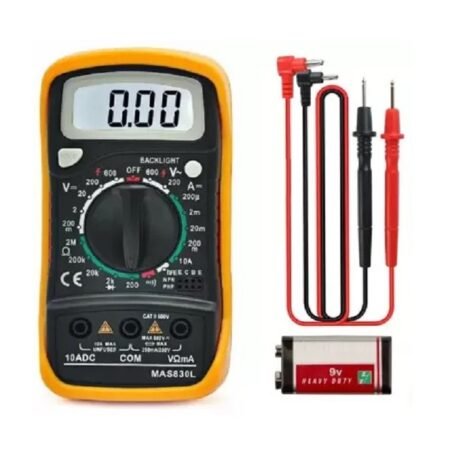
Mastech MAS830L Digital Pocket Multimeter
Safety Measures for MAS830L: Failing these Precautions May Lead to Instrument Damage
– Always make sure the Test Probes are fitted in the correct sockets (Specially while measuring AC Voltage )
– Please choose the correct measuring option before you connect the probe. (As a thumb rule always choose the greater value and decrease if required)
– While measuring current, make sure to put the Red Probe in “10A” socket and the measuring connection should be in “Series”
– While measuring all other parameters other than Current (Ampere), the measuring connection should be in “Parallel”
– If by mistake a wrong connection or option is selected and the measurement is initiated, the instrument will Blink / Beep. Remove the connections immediately to restrict the damage to minimum
– The instrument can only be used in conjunction with the probe for the compliance with safety standards. If the probe needs replacing due to damage, the replacement must be of the same type or the same electrical specifications
– Do not exceed the input limits specified for each range
– When the instrument is measuring, do not touch the input terminal not in use
– When a measurement range is uncertain, turn the function/range switch to the maximum range position

Continuity Testing
A continuity test tells us whether two things are electrically connected.
To begin, make sure no current is running through the circuit or component you want to test. Switch it off, unplug it from the wall, and remove any batteries.
Plug the black probe into the COM port on your multimeter.
Plug the red probe into the VΩmA port.
Switch on your multimeter, and set the dial to continuity mode (indicated by an icon that looks like a sound wave or wifi).
To complete your continuity test, place one probe at each end of the circuit or component you want to test.
If your circuit is continuous, the screen displays a value of zero (or near zero), and the multimeter beeps.
If the screen displays 1 or OL (open loop), there’s no continuity—that is, there’s no path for electric current to flow from one probe to the other.
In case of Diode, continuity will be shown only in one direction and not in other.

DC Voltage Measurement
Plug the black probe into the COM port on your multimeter.
Plug the red probe into the VΩmA port.
Switch on your multimeter, and set the dial to DC voltage mode (indicated by a V with a straight line, or the symbol ⎓).
Set the correct range for the voltage you expect to measure. Each setting on the dial lists the maximum voltage it can measure. So for example, if you expect to measure more than 2 volts but less than 20, use the 20 volt setting. If you’re not sure, start with the highest setting.
Place the Probes on the Voltage Source.
If the range is set too high, the multimeter may not show an accurate reading. Turn the dial to a lower range to get a better reading.
If the range is set too low, the multimeter simply reads 1 or OL, indicating that it is overloaded or out of range. Disconnect the circuit immediately and increase the range through Dial.

Resistance Testing
To begin, make sure no current is running through the circuit or component you want to test. Switch it off, unplug it from the wall, and remove any batteries.
Plug the black probe into the COM port on your multimeter.
Plug the red probe into the VΩmA port.
Switch on your multimeter, and set the dial to resistance mode indicated by the Ω symbol.
Set the correct range for the resistance you expect to measure. If you’re not sure, start with the highest setting.
Place the probe on the two end of the product for which you want to measure the resistance.
If your multimeter reads close to zero, the range is set too high for a good measurement. Turn the dial to a lower setting.
If you set the range too low, the multimeter simply reads 1 or OL, indicating that it is overloaded or out of range. . Disconnect the circuit immediately and increase the range through Dial


Reviews
There are no reviews yet